About Me

My photo
Sydney, NSW, Australia
Craft/ food story Developer, Writer & Photographer for Newspapers & Magazines. first Book on Quilts out March 2015 with @Interweave All images and content belong to Siobhan Rogers, if you would like to use my images please email me.
Showing posts with label lone star. Show all posts

Thursday, August 25, 2011

LoneStar Progress


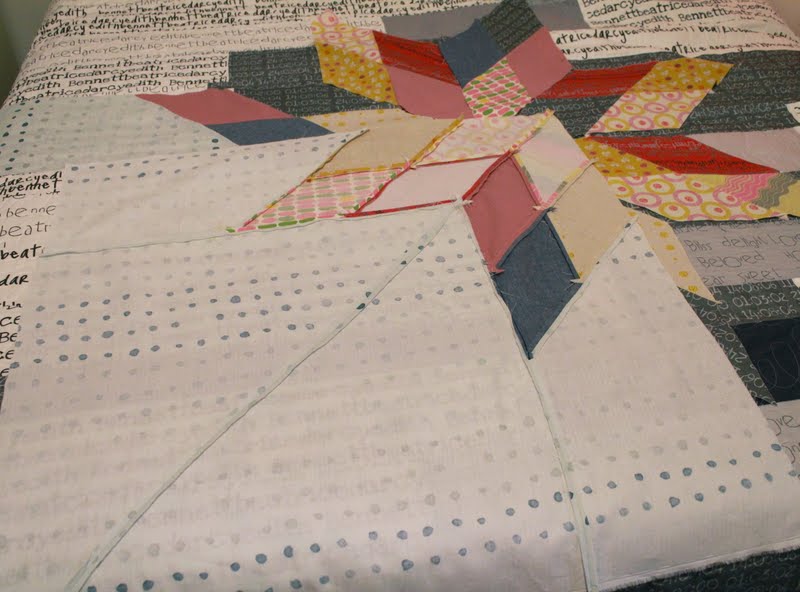
I couldn't resist putting up a quick pick of the Lone Star.

Next I'll be working on a boarder and maybe some corner bits to nicely finish it all off ??


With the sizes of my diamonds and then the templates made for the surround the Quilt has ended up a nice size, Below is a queen size bed 


Im off to teach my friday morning class at Hobby Sew !!

I'll post later today with a list of all the Lone Star posts so far - that way if your enticed to start your own Lone Star all the links will be on one page.

Xx Siobhan

Monday, August 15, 2011

My cup is half full.........


and my Lone Star is half finished....


I ran out of fabric................ I bought 2 meters and I need just shy of one more meter. 

Not much longer and We will be up to the next stage :)

I'm also preparing for my Zig Zag Quilt one day workshop at Calico & Ivy on thursday (thats a mouth full) more spots left for other days if you want to join me :)

Xx Siobhan

Friday, August 12, 2011

Piecing the Lone Star


Gosh what a long day!

I have had one final burst of energy 

I  made my final decision on my fabric and started cutting and piecing my bits together


As I said in a previous post I made my template longer as I wanted more space around the star before I add a boarder.

I'm going slowly - its so easy to cut wrong! 

Cut one piece at a time and sew one piece at a time, it takes a bit longer but worth it?


here I have one quarter done!


and here is the back view

Painting by - Dorothy Napangardi

maybe not the best place to hang my work in progress......

Painting by - Dorothy Napangardi


Any Questions? 

Xx Siobhan

Wednesday, August 10, 2011

More Fabric


I'm just back from a visit to Calico & Ivy Balmain,
Just Checking stuff for my one day workshop that starts next thursday.
 Room for one more! if your interested. 
We will be doing a zig zag quilt top.


whilst at Calico & Ivy I was looking for fabric to go around my lone star.


One of my fav fabrics designers Nani IRO is now being stocked at Calico & Ivy, I usually order it online through DuckCloth and even then I tend to miss out as it goes sooo fast!


I also got a chambray and pinkish shot cotton. Now to decide!


I also picked up the pre made binding :)


This Fabric (also Nani IRO) is destined to be a dress or skirt?


I bought this book a few weeks ago online at Tessuti 


I'm off to do some prep for my classes tonight & tomorrow morning at Hobby Sew Top Ryde

Has anyone seen the New Down Under Quilt's Magazine???
I'm in it!

Xx Siobhan


Monday, August 8, 2011

Diamonds


Ok....
 so you should have all of your diamonds cut & ready to join them


lay out your Diamonds into the eight leaves (one leaf is four cut diamonds as above)


one leaf


sew two diamonds together 


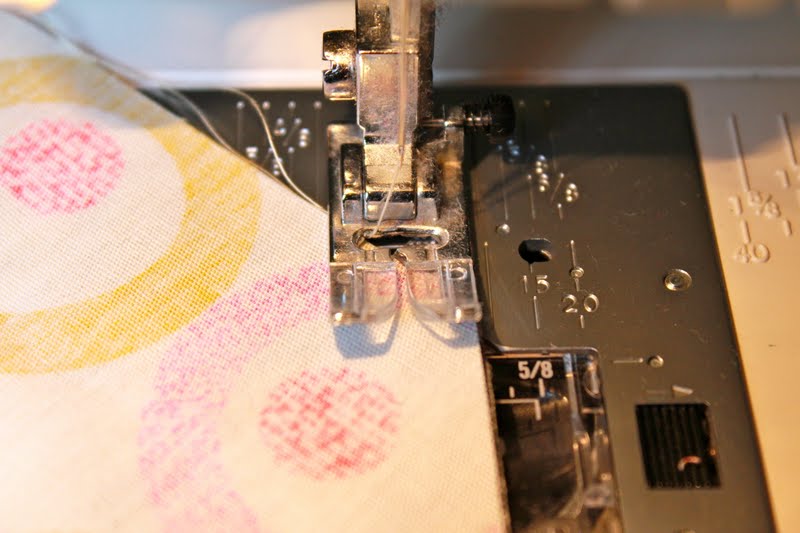
when joining triangles and diamonds (or any shape that is angled)you need to give a 1/4 inch off set allowance, or bunny ears - thats my technical term :)

if you look at the image above the two diamonds don't join up, I have off set it (staggered).


and looking closely at the above image, my needle is starting exactly where the axis point is of the two off set diamonds (confused?)


the image above shows a little bit better what I'm explaining, see how the 1/4 inch seam sits perfectly at the axis?


and once ironed its all lined up and perfect, with one little bunny ear sticking out.


join your two sets of diamonds together, again it needs to be 1/4 inch off set as shown below


and if you look at the middle we have bunny ears!


one leaf complete! only seven more to go


keep going until all eight parts of your star are done!

but don't join them together yet!
we have to work out our fabric for the spaces first!

Thats coming next :)

don't forget to have a look at flickr and see what everyone else is doing


Xx Siobhan

Sunday, August 7, 2011

Whats next?

I hear you ask....


In the next few posts

1 How to piece the diamonds together.

2 How to work out the material requirements of the spaces left surrounding your lone star.


 3 any extra fancy stuff you may want to add like a boarder of applique etc.

4 and then backing/ quilting and binding.


I've had a few questions about the text fabric I use, Its mine! its available on spoonflower if you would like to purchase it :)


and here is a quilt I made recently with some of it

Monday morning here in Sydney and another beautiful day is starting, we had a great weekend catching up with friends. 

here is Miss nearly 5 after eating some blue cup cakes


I'll post again by the end of today!

but before my sewing I need to get the house ready for an end of season Netball Party for my U10 team that we are having after school.

busy week ahead!

Dont forget to sign up for my Zig Zag day workshop at Calico & Ivy

and any of my classes at Hobby sew Top Ryde (Sydney)

Xx Siobhan


Saturday, August 6, 2011

long line + short line = Diamond template

or something like that

I've used a rather large diamond for this Lone Star Quilt, and its actually really easy to draw up - even for the mathematically challenged like me (I am incredibly mathematically challenged)

It doesn't matter what size diamond you use in this quilt-along/ pattern. If you use a bigger diamond your lone star will be bigger and vis versa.


This is the size I will be using


draw a short line 6 1/4 inches long


one line 6 1/4 inches long


mark the middle of the short line, and draw a long line 14 1/2 inches long


now you have a t, fill in the sides and presto!


one perfect diamond


not so hard? 

any size diamond is fine - as long as all sides are equal. That way when you go joining everything all your seams match up.


In celebration of my Maths & my oldest Boy scoring a try in U11 Rugby and today also being the last game of U10 Netball for the year! 
(not my best idea to coach 12 young girls in netball......)

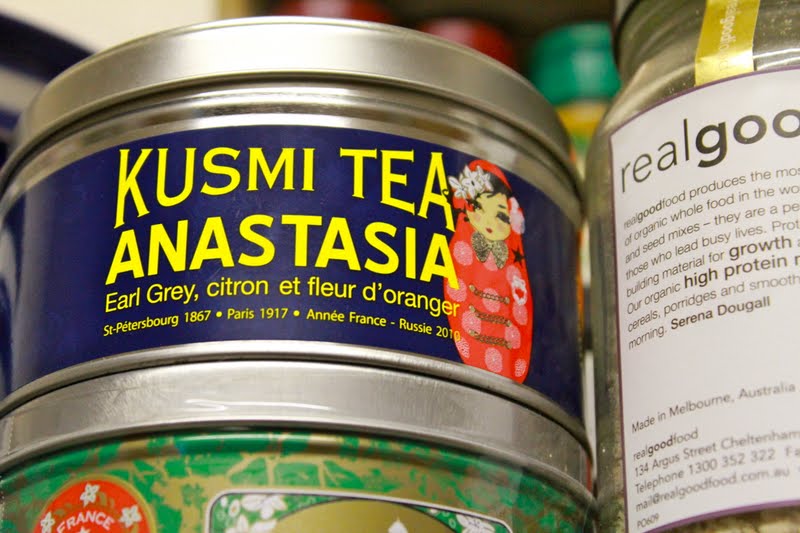
I'm cracking open my tea I bought in Paris last October and I found some dark chocolate hidden on top of the fridge. 


I was hoping to watch my Audrey Hepburn DVD's specifically Roman Holiday but alas Its no where to be found! 

I'm off to Rome in Sept!! & Florence & Venice & Paris & London


and yes I know - I'm having milk in my earl grey tea!! many a person has scorned me for such habits :)

Hope your weekend is looking as good as mine :)

Xx Siobhan


- After thought
remember with quilting especially this kind of large pieced lone star that any fabric is good. I love making quilts out of old sheets or special old kids clothes. 
Opportunity shops can be great for old dress fabric too.
Quilting doesn't have to always be new fabric. 
I like vintage :)

Thursday, August 4, 2011

Lone Star

I've been promising a lone star for a while now..........


I have finally created my pattern and made my templates


I'm making this lone star a nice n simple one for starters.

The finished size will be 50 inch X 50 inch.

My Diamond is 8 inches on all sides.

I need to ask my IT whizz how to link my PDF file - if you want a template to print
. 
If you cant wait for my diamond - create your own in any size. 

I've gone for a large diamond because I want to do some hand quilting and I also like the look of the fabric - I wanted to show it off.


I'm using 8 different fabrics - you will need around 3.5 yards all up.

You will need to cut 32 Diamonds to make this lone star. lets deal with the edge bits and boarder later.......


Lots of people have different ways of cutting diamonds - I find it easiest to do as above & below


I'm playing around with the lay out at the moment


 Next post I'll show you how the lone star is pieced


Lone stars can be tricky - but only as tricky as a zig zag

This sized lone star will come together very quickly because of the large pieces.

 Which makes it a good quilt to try as a beginner.

I've started a flickr group for the lone star Quilt.

Please add pictures of anything to do with the process - from fabric your thinking of using to cutting technique. 

I'll be around if you have any Questions

Xx Siobhan
Related Posts Plugin for WordPress, Blogger...